


How to Import a Custom Token to Metamask
July 13, 2023
•
1 min read
How to Add a Custom Token to MetaMask if It’s Not Automatically Appearing
- Get the Token’s Correct Contract Address
- First, you’ll need the correct contract address for the token you want to add.
- For example, to add WETH (Wrapped Ether) to MetaMask, here is the contract address: 0x7ceB23fD6bC0adD59E62ac25578270cFf1b9f619
- Ensure You Have a MetaMask Account and Are Logged In
- Make sure you have MetaMask installed and that you are logged into your account.
- Go to the Token Section in MetaMask
- Open your MetaMask extension and navigate to the "Tokens" tab, where you manage your tokens.

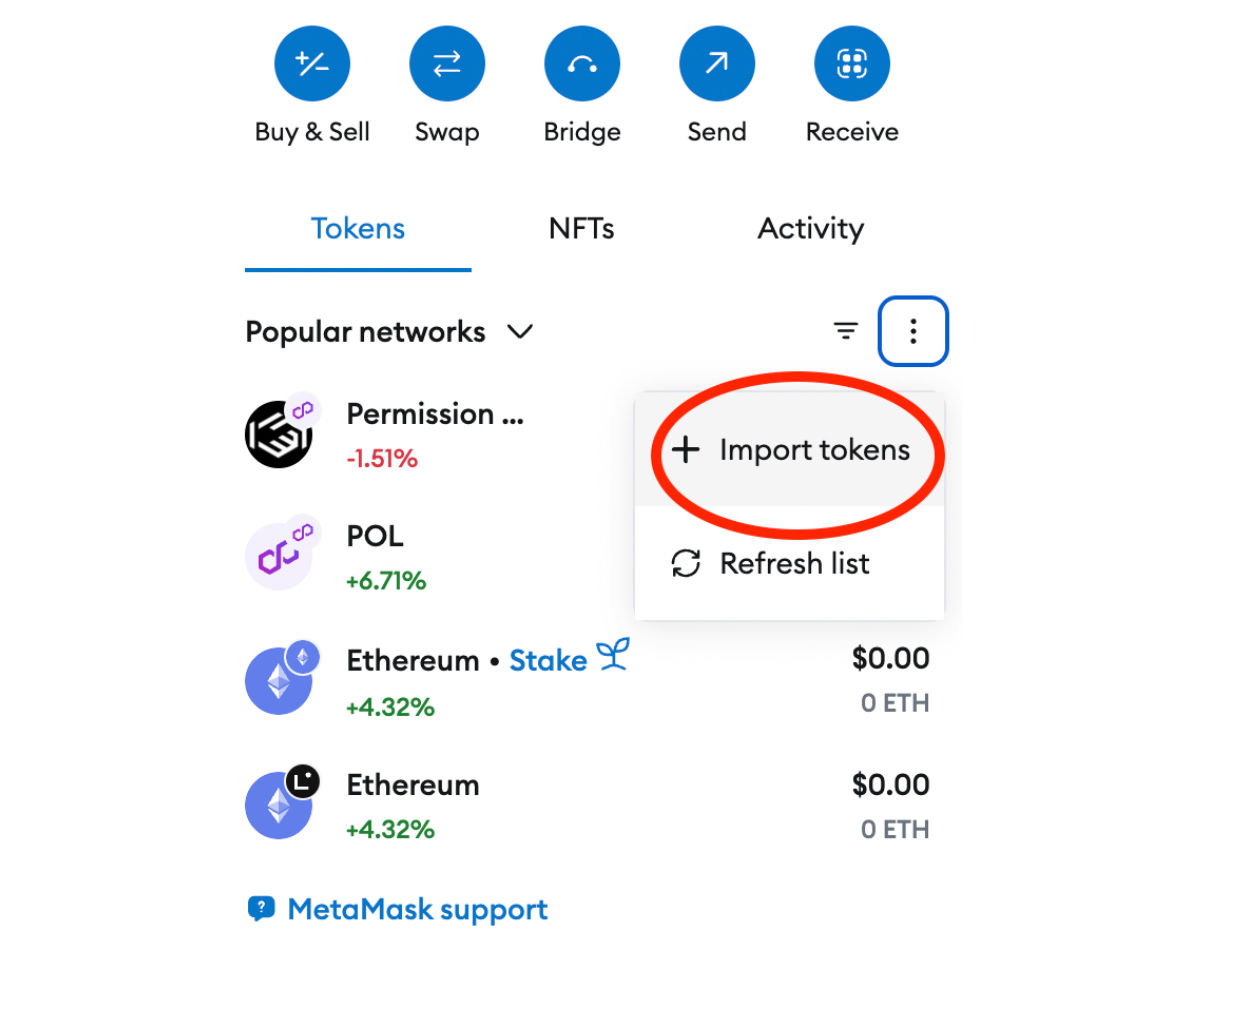
- Select ‘Import Tokens’
- Open the menu on the right and click the Import tokens button.
- Select the ‘Custom Tokens’ Tab
- In the Import Tokens window, click on the Custom Tokens tab.
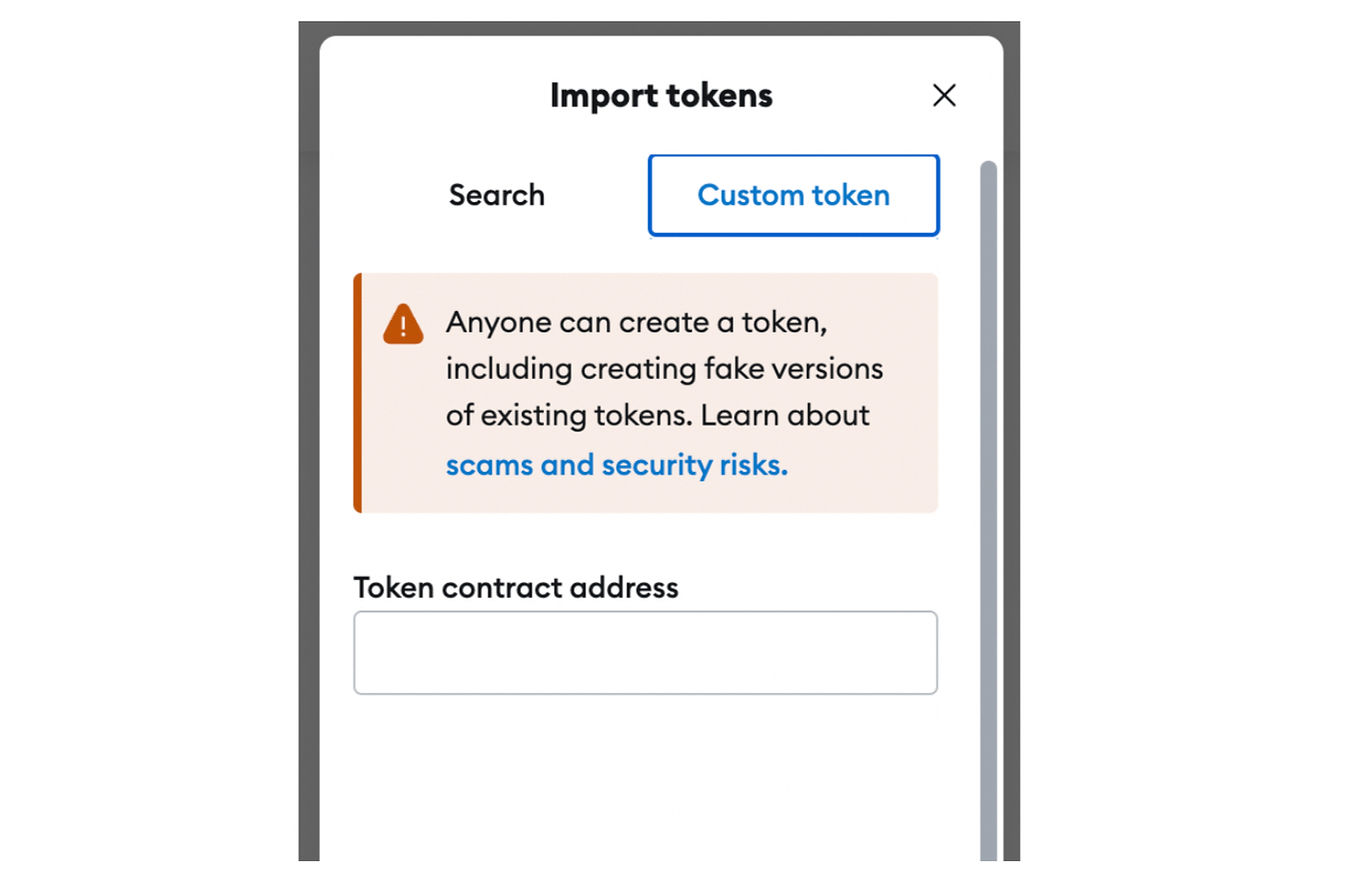
- Paste the Contract Address into the “Token Contract Address” Section
- Paste the token’s contract address (for example, the one provided for WETH) into the Token Contract Address field.
- The Token Symbol and Decimal fields should automatically fill in. You can edit them if necessary, but they usually auto-populate correctly.
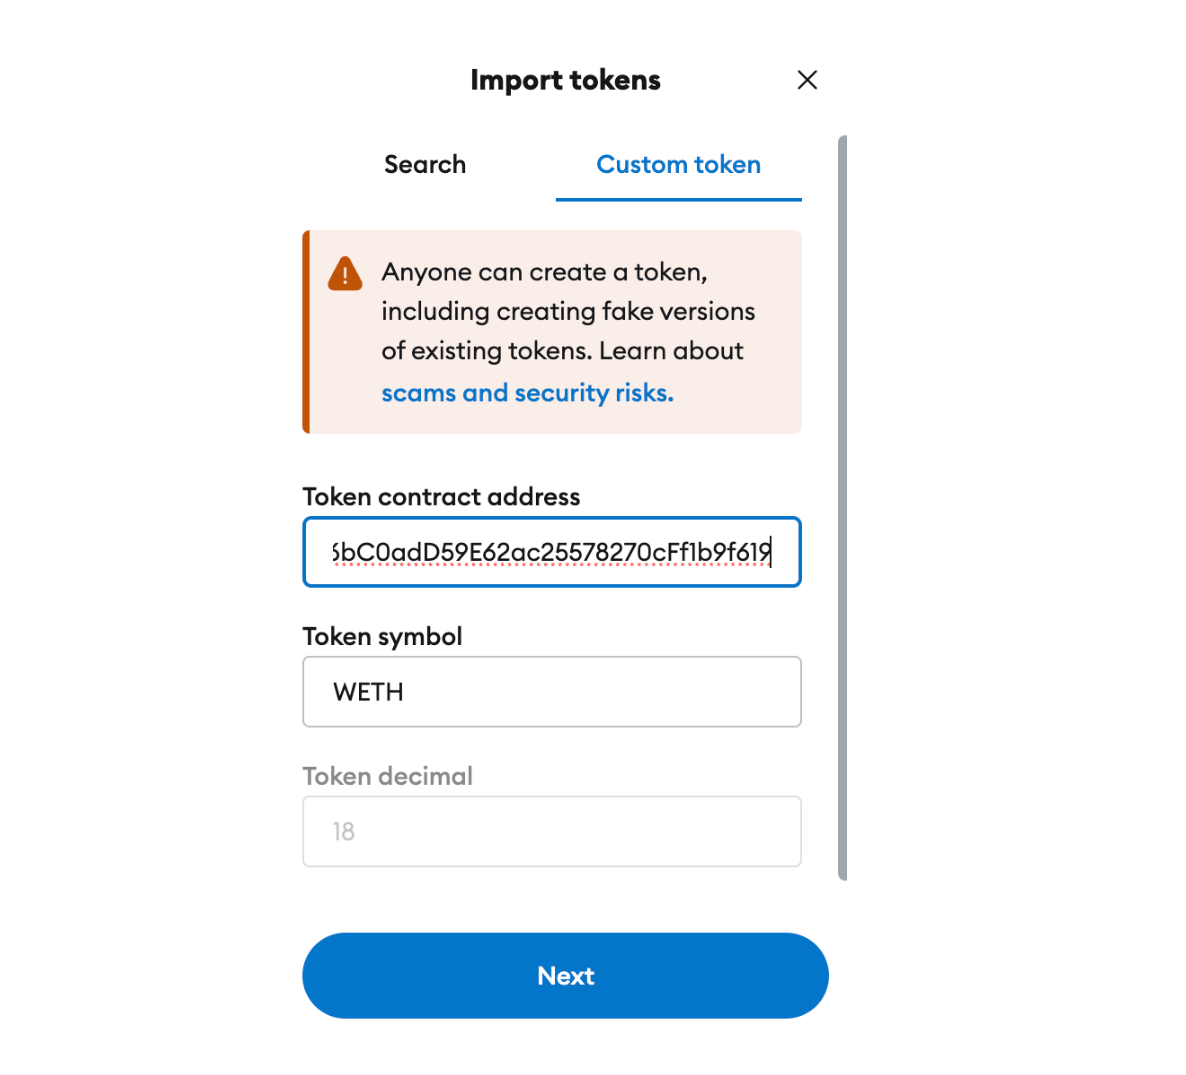
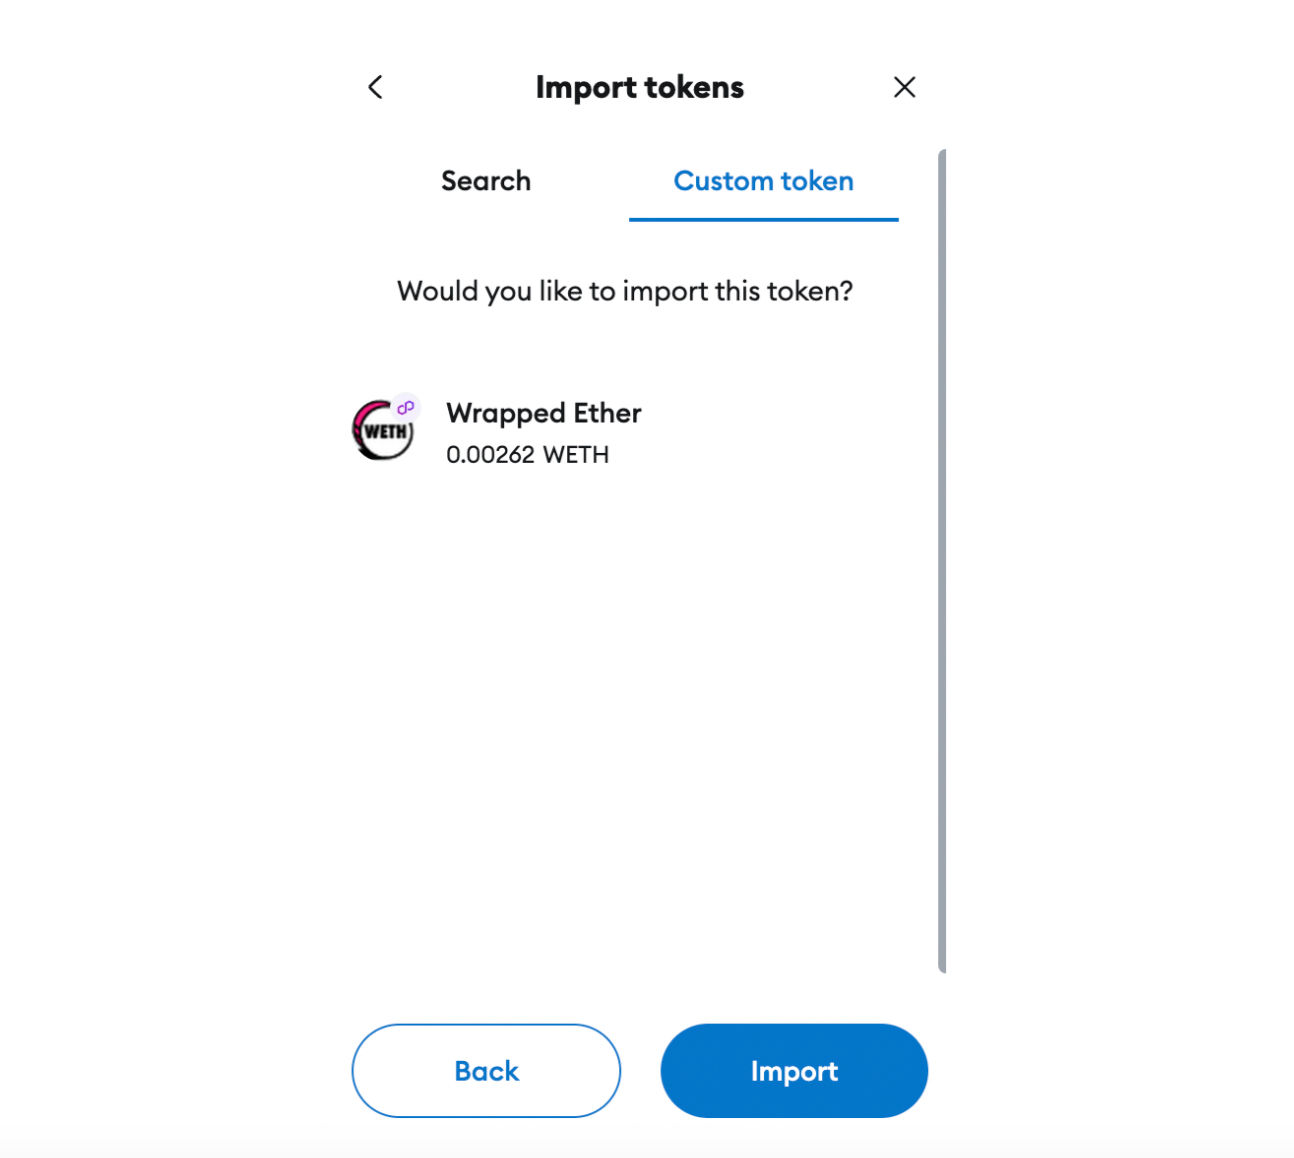
- Click ‘Next,’ Then ‘Import’ to Confirm the Addition
- Click the Next button, and then click Import to confirm the addition of the token to your wallet.
- Click the Next button, and then click Import to confirm the addition of the token to your wallet.
- View Your Token
- After importing, the token should now appear in your MetaMask wallet.
- If you already hold that token, your balance will be displayed.